As an Amazon Associate, we earn from qualifying purchases. Some links on this site are affiliate links at no extra cost to you. Our recommendations are based on thorough research and editorial judgment.

How To Proof Dough?
To proof dough, we need to create the right environment for our yeast buddies! Let’s start by mixing our ingredients and placing the dough in a greased bowl. Cover it with a cloth to keep it cozy. We typically let it rise in a warm spot, around 74-80°F, for 1-4 hours. Look for it to double in size and have a jiggle when shaken. Trust us, with the right techniques, we’ll achieve delicious bread together. Stick around, and you’ll learn more tips!
Key Takeaways
- Use a deep, greased mixing bowl to allow the dough to expand without sticking.
- Maintain a warm environment around 70-75°F for optimal yeast activity during proofing.
- Cover the bowl with a cloth or film to retain humidity, which aids in the proofing process.
- Check for readiness by ensuring the dough has nearly doubled in size and has visible air bubbles.
- Experiment with cold retardation methods to enhance flavors while controlling yeast activity and preventing over-proofing.
Understanding Proofing Dough
You may be interested


When we think about baking, we often overlook the magic that happens during the proofing stage of dough. This is where yeast activity truly shines, transforming our simple mix of flour and water into a lively masterpiece. As the yeast ferments sugars, it produces carbon dioxide, helping the dough expand beautifully. We want the right dough consistency, so pay attention—overproofing can lead to a dense loaf that’s just not what we’re after! It’s essential to create a warm, cozy environment for the dough, allowing it to double in size. Sometimes we might second-guess ourselves, but those gentle rises are what give our bread its character. Let’s nurture the process, and we’ll create something special together. The use of heavy-duty materials in baking trays can significantly enhance the final quality of our baked goods.
Importance of Environmental Factors
Creating the perfect loaf isn’t just about mixing ingredients; it’s also about setting the stage for dough to thrive. By paying attention to environmental factors, we can truly enhance our dough’s performance. The right temperature, around 70-75°F (21-24°C), boosts yeast activity and fermentation rates, while humidity levels of 60-80% keep our dough from drying out. We’ve all had that moment when our dough decides not to rise; it’s often due to fluctuating conditions! Maintaining a consistent environment prevents unwanted surprises, like dry crusts or collapsed loaves. Whether we’re using a proofing box or simply knowing when to open a window, let’s embrace these elements to create delicious, airy bread with complex flavors that make every bite worthwhile. Additionally, using a heavy-duty baking rack can help ensure proper airflow and even cooling, enhancing the overall quality of your bread.
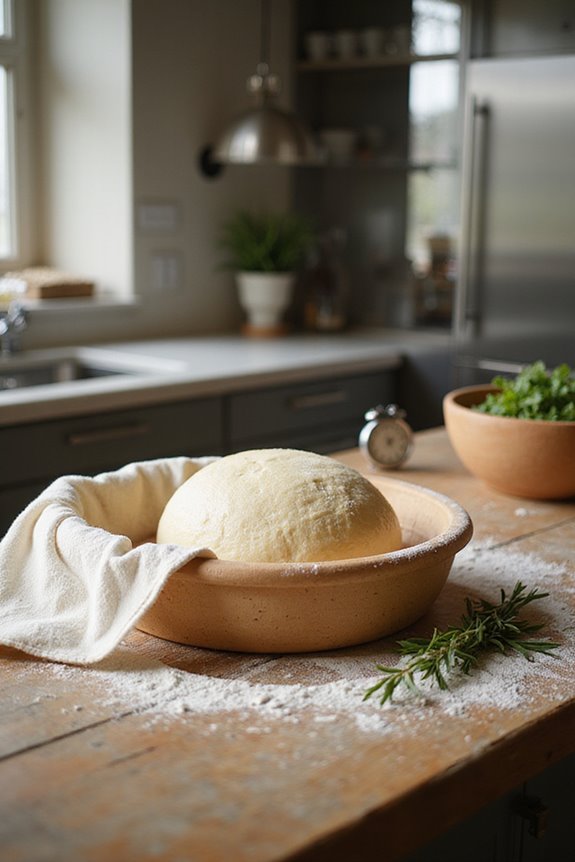
Preparing for Proofing
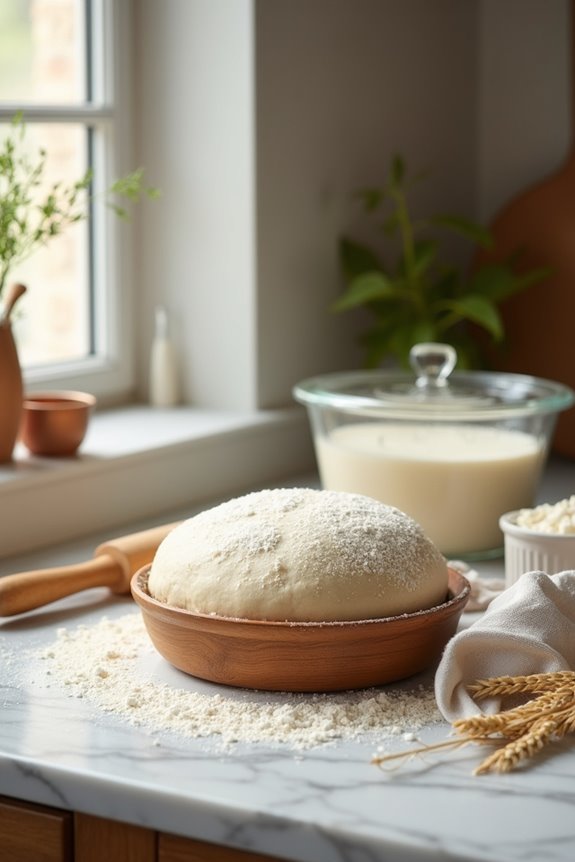
After considering the right environmental conditions for our dough, it’s time to focus on preparing for proofing. First, let’s grab a deep mixing bowl; it should be big enough for our dough to double in size. We’ll lightly grease it with oil—trust me, this prevents sticking and keeps moisture locked in! Next, we shape our dough into smooth balls, carefully cupping and rolling to build that all-important surface tension. A little rest at room temperature helps relax the gluten before placing it in the bowl. Finally, let’s cover it snugly with a cloth or film to keep the humidity in. Oh, and remember, proper dough hydration and gluten development are key to fluffy bread—let’s make it happen! Additionally, using airtight containers can help maintain the freshness of your dough during the proofing process.
Timing and Duration of Proofing
How can we guarantee our dough is perfectly proofed? Let’s remember that timing and temperature are our best friends! Warmer conditions, around 74–80°F, typically offer proofing times of 1 to 4 hours; however, cooler areas can stretch this to 6–16 hours, especially if we’re cold proofing in the fridge. We must adjust our timing based on dough composition and household warmth. While it’s tempting to speed things up, let’s avoid allowing temperatures above 85°F to risk overproofing. Instead, we can use cozy spots, like a bowl over warm water, to enhance our proofing techniques. By keeping an eye and trusting our instincts, we’ll avoid dense bread and master the art together. Additionally, using a non-stick surface for your baking pans can help ensure that your breads release easily once baked. Let’s bake joyfully!
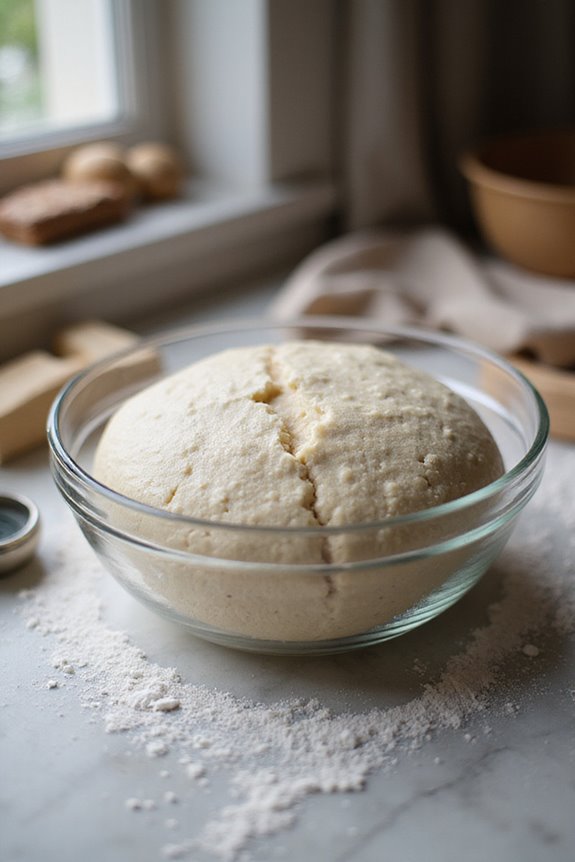
Signs of Readiness
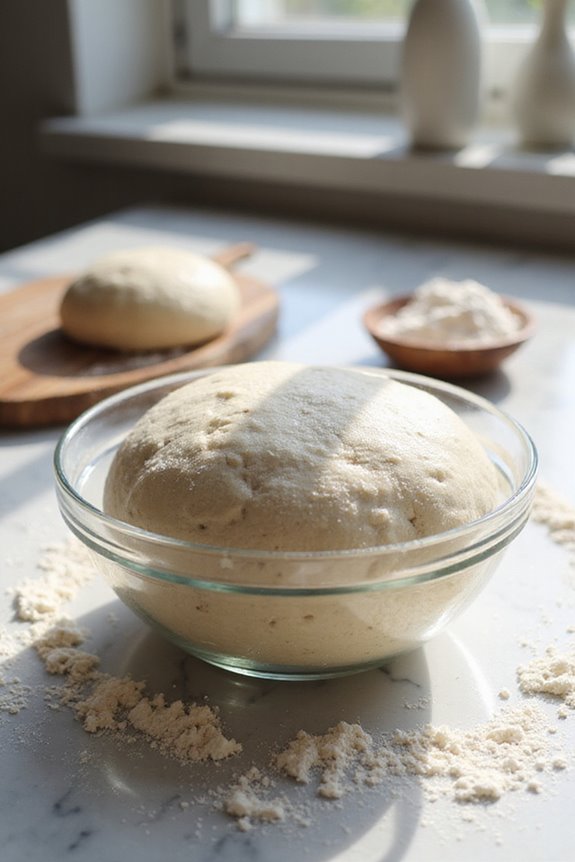
When we think about the signs our dough is ready for baking, imagine becoming a dough detective on a flavorful mission! We love observing those visual indicators, like the dough swelling to nearly double and those delightful air bubbles peeking through the surface. Don’t forget about the texture cues; when we gently press down, it should spring back just enough to show it’s ready but not too much that it collapses. If it feels soft and elastic, we’re spot on. Keep an eye out for that slight jiggle when shaken! Slightly lightened color and a gentle aroma of fermentation confirm our dough is on track. Additionally, just as air fryers can have size compatibility issues with different liners, it’s important to ensure your dough has risen appropriately for successful baking. So, let’s trust our gut and these signs as we gear up for baking!
Techniques for Checking Proofing
Ever wondered if your dough is really ready to rise to the occasion? We can’t leave it to chance! The poke test is our trusty sidekick. Just gently poke the dough and see how it rebounds; a quick spring back means it’s underproofed, while a slow response signals readiness. If it leaves a dent, it’s time to cry over overproofed dough. We also need to keep an eye on dough elasticity and conduct a visual inspection. The surface should look smooth and slightly domed, indicating good gluten structure. By combining these techniques, we can guarantee our dough’s not just sitting there, but actively preparing to create something delicious. Let’s embrace the process together!
Ideal Proofing Locations
Finding the right spot for proofing our dough can make all the difference in the world! We love the sunroom benefits, where warm sunlight creates a cozy atmosphere for our dough to rise perfectly. If a sunroom isn’t available, we can use a heating pad set low (around 100°F-110°F) for a gentle, consistent warmth that won’t harm our precious yeast. Another clever trick is to place the dough near warm kitchen appliances or inside an unused clothes dryer—how cozy! Just remember to avoid drafty spots and scorching temperatures; our dough deserves a nurturing environment. With these ideal proofing locations, our dough’s going to rise like a champion, making our baking adventures all the more delightful!
Managing Temperature and Humidity
To get the best rise out of our dough, we need to pay close attention to both temperature and humidity. Think of temperature modulation as our secret weapon; aiming for around 81°F is ideal for most breads. But for sourdough lovers, we can play with temperatures between 70°F and 85°F to fine-tune acidity and fermentation. Humidity management is equally essential. Keeping the environment at about 75-85% prevents a crust from forming and guarantees our dough stays pliable. If we notice it getting too dry, humidity tents or proofing boxes can save the day! Let’s embrace these simple adjustments, and our dough will reward us with a delightful rise and flavor every single time. Happy baking!
Tips for Successful Proofing
When it comes to successful proofing, a few key strategies can make a world of difference in our bread-making adventures. First off, we need to avoid common mistakes, like proofing dough in overly warm spots. Ideal temperatures are between 72°F and 78°F. Trust us, if your dough isn’t doubling in size, it’s likely underproofed! Let’s remember the finger indentation test; it should spring back slowly, not like a rubber band gone wild. Also, there’s a misconception that longer proofing always leads to better bread. Sometimes, it’s about balance. A warm environment can boost yeast activity, but too much heat risks disaster. Let’s have fun experimenting, learn from each batch, and ultimately rise to the occasion!
Utilizing Equipment for Proofing
Though we might not think about it every day, the right equipment can make or break our dough proofing process. Each proofing method has its own set of equipment types, and choosing wisely can lead to delightful outcomes. For smaller operations, cabinet proofers offer precise temperature and humidity control—crucial for that perfect rise. If we’re cranking out goodies, roll-in rack proofers can handle the heavy lifting. Specialized options, like donut-specific proofers, cater to our unique baking needs. And let’s not forget the handy oven-proofer combos that streamline our workflow! When picking our gear, we should always consider our kitchen layout and production needs to guarantee smooth sailing and delicious results. Happy proofing!
Strategies for Cold Retardation
After setting up our proofing equipment, we can enhance our baking game even further with some smart strategies for cold retardation. Let’s talk bulk retardation first; keeping our dough in the fridge at a cozy 45°F for 12-18 hours reveals incredible flavors! For final proofing, an extra 12-15 hours at about 50°F will slow those yeast workers down, letting them do their thing without risking over-proofing. Remember, once we pull that dough from the cold, a 30-minute room temperature rest helps it spring back to life nicely. And don’t stress if the temperature takes a while to drop—this little delay is our friend! With a bit of patience and attention, we’ll create something deliciously special.
Frequently Asked Questions
Can I Use Instant Yeast Instead of Active Dry Yeast for Proofing?
Absolutely, we can use instant yeast instead of active dry yeast for proofing. Instant yeast benefits from faster action and doesn’t require proofing, while understanding the dry yeast differences helps us choose the right option for our recipes.
What Happens if I Overproof My Dough?
If we overproof our dough, we’ll notice a dramatic change in dough texture. Overproofing effects include weak gluten, sticky surfaces, and flat loaves, impacting both rise and flavor. It’s a delicate balance we must watch closely!
How Can I Tell if My Yeast Is Still Active?
To check if our yeast’s still active, let’s use simple proofing techniques: mix warm water and sugar, add yeast, then watch for bubbles and volume increase. If it foams, we’re good to go!
Is It Necessary to Cover the Dough While Proofing?
Absolutely, covering the dough is essential—did you know that about 30% of moisture can be lost without it? By covering, we guarantee moisture retention, allowing our dough to rise perfectly and create that beautiful texture we love.
Can I Proof Dough in the Refrigerator Overnight?
Absolutely, we can proof dough in the refrigerator overnight! This method allows for flexible baking schedules and enhances flavor, giving our bread that delicious depth we all love while ensuring it retains its wonderful texture.