As an Amazon Associate, we earn from qualifying purchases. Some links on this site are affiliate links at no extra cost to you. Our recommendations are based on thorough research and editorial judgment.
How To Cook Quinoa Fluffy?
To cook quinoa fluffy, we should start by rinsing it thoroughly to remove bitter saponins—trust us, it makes a huge difference! Then, let’s use a 1:1.5-2 water-to-quinoa ratio for an ideal cook. Bring it to a boil, simmer gently, and keep it covered to trap that steam—we want light and airy, not dense! After cooking, fluff it with a fork and consider adding some tasty veggies. Stick around for more tips and tricks!
Key Takeaways
- Rinse quinoa thoroughly under cold water to remove bitter saponins before cooking for improved flavor.
- Use a 1:1.5-2 ratio of water to quinoa; ideally, 1.5 cups of water for each cup of quinoa.
- Bring water and quinoa to a boil, then reduce heat and cover to simmer gently until fully cooked.
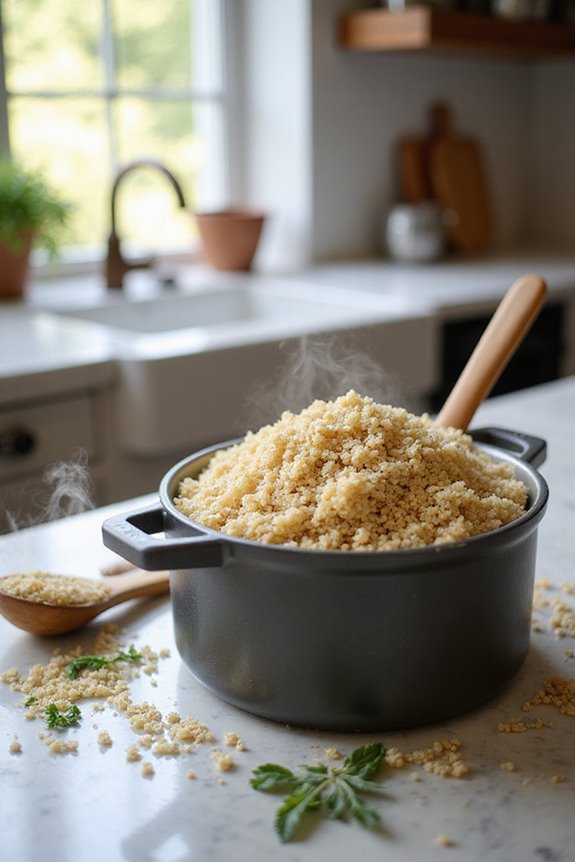
- Fluff cooked quinoa with a fork after cooking to achieve a light and airy texture.
- Optionally toast quinoa beforehand or sauté aromatics to enhance the flavor profile and nuttiness.
Understanding Quinoa: Types and Flavor Profiles
You may be interested


When we think about quinoa, we often picture that fluffy, nutrient-packed grain on our plates. But did you know there are over 1,800 quinoa varieties out there? The three most popular types—white, red, and black—offer unique flavor characteristics that can change how we enjoy them. White quinoa has a light taste and fluffy texture, making it perfect for almost any dish. Meanwhile, red quinoa presents a nutty, crunchier bite, ideal for vibrant salads. Black quinoa, with its earthy sweetness, can add depth to diverse recipes. Additionally, many rice cookers can also handle grains like quinoa, making them a versatile kitchen tool for cooking other grains. So, let’s experiment! Think outside the box with these quinoa varieties and find those flavors that tickle your taste buds. Happy cooking, friends!
The Importance of Rinsing Quinoa
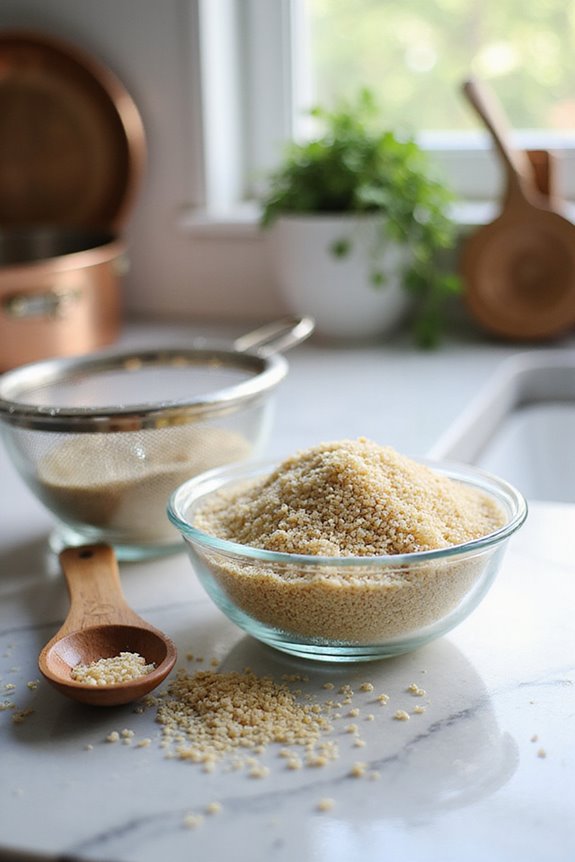
We’ve explored the wonderful varieties of quinoa and their unique flavors, but before we toss them into our favorite recipes, let’s talk about why rinsing quinoa really matters. Quinoa seeds are coated with saponins—those pesky little compounds that can leave a bitter, soapy taste if we’re not careful. Trust us, nobody wants that! By using proper rinsing techniques—like soaking and gently rubbing the seeds or using a fine-mesh strainer—we can effectively remove these saponin effects. Even pre-rinsed quinoa deserves a second wash. A thorough rinse not only improves flavor but also makes it easier to digest and helps achieve that fluffy texture we all crave. Additionally, rinsing can enhance the nutrient preservation of quinoa, allowing us to enjoy its full benefits. So let’s rinse away those worries and enjoy quinoa’s natural nutty goodness!
Optimal Water-to-Quinoa Ratio
Getting the water-to-quinoa ratio just right is essential for achieving that light and fluffy texture we all love. For ideal results, we recommend using a cooking ratio of 1.5:1—meaning 1.5 cups of water for every cup of quinoa. This balance promotes perfect grain absorption without turning our quinoa into a mushy mess. Ratios between 1.5:1 and 1.75:1 are our sweet spots, ensuring the quinoa stays tender while avoiding dryness. If you go with less water, be ready to keep an eye on it—too little can lead to undercooked grains. And don’t forget: allowing it to rest covered after cooking helps achieve that delightful fluffiness. Choosing the right baking racks can enhance the efficiency of your cooking process—trust us; it’s worth the effort!
Preparing Quinoa for Cooking
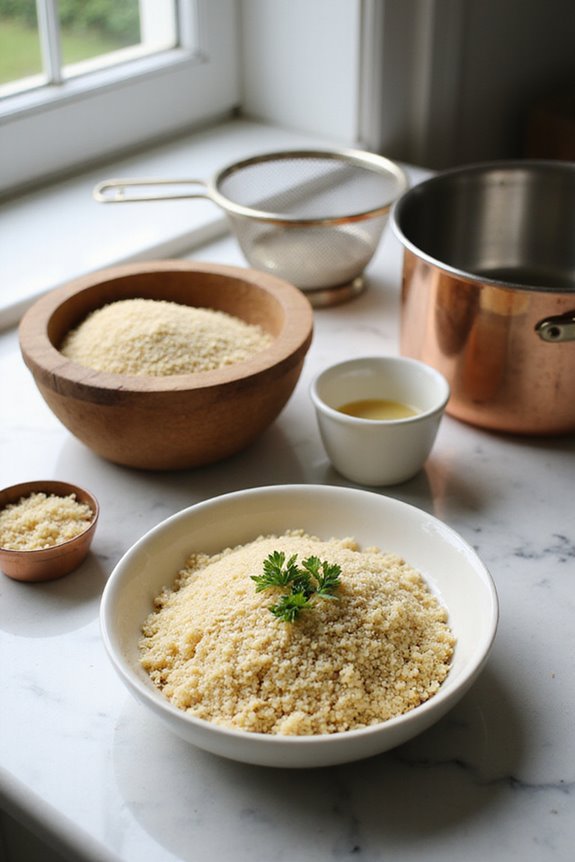
Preparing quinoa for cooking is an essential step that can make all the difference in achieving that light, fluffy result we all crave. First, let’s talk about rinsing techniques; this simple act removes bitter saponins and boosts nutrient absorption. We can rinse under running water for up to five minutes until it’s clear, and don’t forget to drain thoroughly! If we want to elevate our quinoa’s flavor, toasting it brings out a nutty richness—just pop it in a pan for about 15 minutes. And while we’re at it, let’s sauté some aromatics like onions or garlic to enhance the flavor. Finally, remember to handle quinoa gently during rinsing and fluff it with a fork once cooked, so we keep those perfect grains intact! Additionally, consider using a grill basket for cooking quinoa on the grill, which can impart a unique smoky flavor while ensuring it doesn’t fall through the grates.
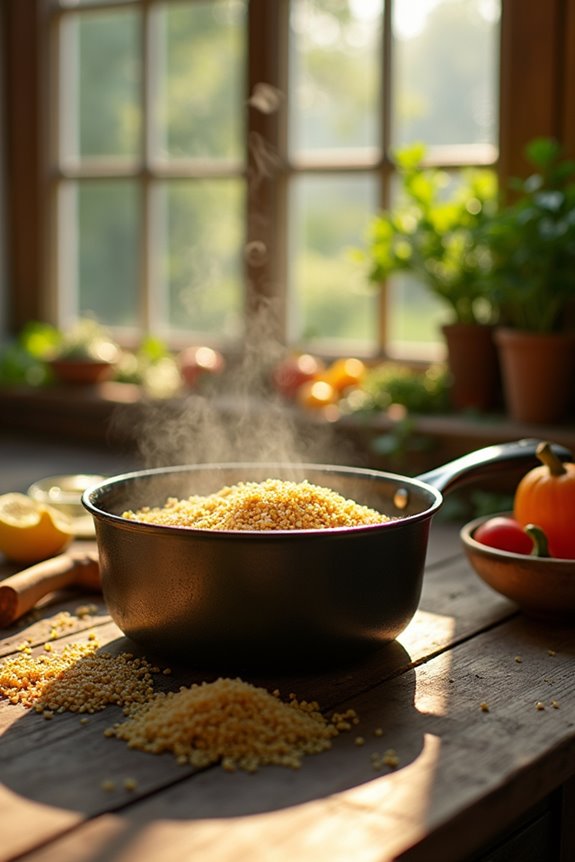
The Cooking Process: Step by Step
When it comes to cooking quinoa, following a few simple steps can lead to that perfect fluffy result we all love. First, let’s grab our cooking tools—an average medium saucepan will do the trick. We’ll start by combining the rinsed quinoa and water in a 1:1.5-2 ratio. Once it’s boiling away, we reduce the heat to a gentle simmer and cover it up. Remember, don’t lift that lid! After about 10 to 15 minutes, we’ll remove it from heat and let it steam for a few more minutes. Finally, let’s fluff it up with a fork. This guarantees those lovely little quinoa curlicues are ready for anything we want to whip up, regardless of our quinoa varieties! It’s also essential to ensure that the quinoa is cooked in a non-stick surface to prevent sticking and ensure easy cleanup after cooking.
Enhancing Flavor With Seasonings
To truly reveal the potential of quinoa, we can enhance its flavor with a few clever seasonings that take it from basic to beautifully bold. First, let’s talk fat! A touch of butter or coconut oil can add richness, balancing that natural bitterness. For seasoning options, fresh garlic, dried oregano, or a sprinkle of cumin creates a lovely aromatic base. We can also add a splash of lemon juice to brighten things up—trust us, your taste buds will thank you! Mixing in toasted nuts or crumbled feta gives both texture and depth. Remember, it’s all about flavor balancing; combining these elements makes quinoa a dish people crave rather than just a side. Let’s get creative and make our meals sing!
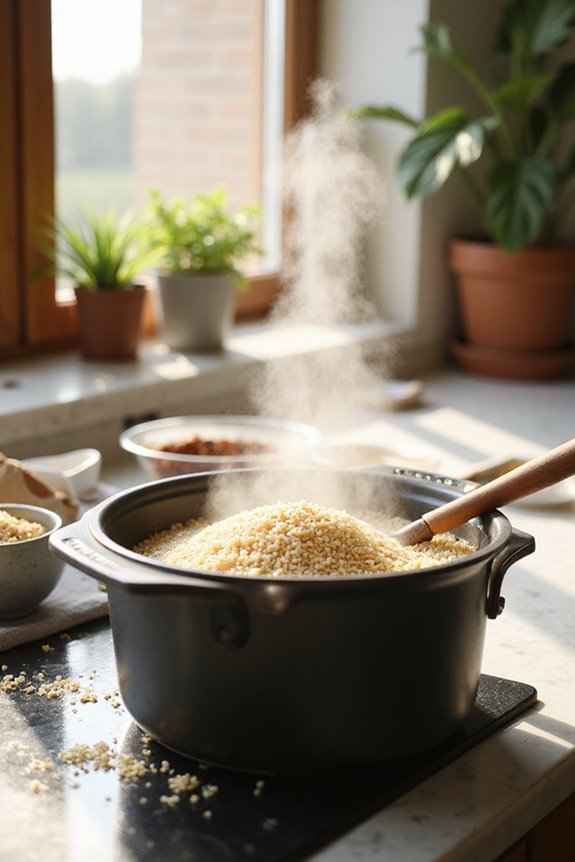
Simmering: The Key to Fluffy Quinoa
Simmering quinoa properly is essential for achieving that fluffy perfection we all crave. The key here is maintaining a gentle simmer, not a rolling boil—trust us, no one likes mushy quinoa! As we bring our quinoa to a boil, let’s remember to reduce the heat right away and cover it. We usually simmer for about 15 minutes for white quinoa, making sure to avoid those common simmering mistakes, like lifting the lid too soon. Keeping it covered traps steam, cooking the grains evenly. If you’ve got any extra water after simmering, uncover it briefly to evaporate. Just remember, the secret to fluffy quinoa lies in the careful balance of heat and time, so let’s embrace these simmering techniques together!
Resting and Fluffing Techniques
After we’ve nailed the simmering stage, the next vital step is all about resting and fluffing. We should cover our quinoa and let it rest for 5 to 10 minutes. This time allows steam to finish cooking the grains properly, avoiding any mushy texture. Remember, don’t lift the lid during resting! Keeping that warmth and moisture in is essential for achieving fluffy quinoa.
Now, onto fluffing techniques! Grab a fork, folks—a fork does wonders without crushing the grains. When it’s time to fluff, use a gentle lifting motion. We want to reveal those tiny spirals that signal perfect cooking. With our resting techniques and fluffing methods, we’ll transform our quinoa into a light, airy dish that makes everyone smile.
Flavor Enhancement and Variations
When we cook quinoa, it’s not just about boiling water and grains; we can really amp up the flavor game with just a few simple tweaks. By using vegetable broth instead of water, or even coconut milk, we can create delightful, flavorful combinations that whisk us away to different culinary cultures. Don’t forget to add sautéed garlic and vegetables like zucchini for those nutritional enhancements we crave. Plus, throwing in fresh herbs or spices can turn a simple dish into something truly special. For a Mediterranean flair, let’s sprinkle some pesto over our fluffy quinoa. With these cooking techniques, we’re not just cooking; we’re crafting a delicious experience that makes every bite feel like a celebration!
Storage Tips for Cooked Quinoa
Storing cooked quinoa is essential for keeping it fresh and tasty, so let’s get it right! First off, we should use airtight containers to prevent contamination, and label them with the date. Refrigerated quinoa stays good for about 5 days, so let’s not forget to place it in the fridge right after cooking. Now, if we want to keep quinoa for longer, freezing it in portioned bags works wonders—just avoid freezer burn by removing as much air as possible. While we’re being safe, let’s learn how to detect spoilage too: a slimy texture or sour smell means it’s time to say goodbye to that batch. We’ve got this, and our quinoa will always taste amazing!
Alternate Cooking Methods for Quinoa
Have you ever wondered about the different ways to cook quinoa? We can explore a couple of alternate cooking methods that really enhance our dishes. First, let’s talk about steaming techniques. Steaming quinoa preserves its nutrients while creating a firmer texture, taking just 5–10 minutes. Now, who doesn’t love a bit of crunch? Sautéing quinoa in a bit of oil before cooking not only brings out a nutty flavor but also adds that delightful texture. Plus, it’s a great way to amp up taste by mixing in veggies and spices afterward. Whether we steam or sauté, both methods give us a unique approach to enjoying this versatile grain. So, let’s spice up our quinoa game together!
Reheating and Maintaining Quinoa’s Texture
Reheating quinoa can be a game changer in keeping it fluffy and delicious, and we’ve got a few simple tricks up our sleeves! For those pondering quinoa reheating methods, we recommend using a microwave with a vented cover, stirring halfway through for even warmth. Stovetop? Just heat it on medium-low, stirring continuously to avoid drying out. We also love steaming, as it’s gentle and keeps moisture in! Remember, adding a splash of water while reheating is a sneaky moisture retention technique. Once heated, fluff it with a fork and let it rest for a few minutes to absorb any remaining moisture. Following these steps, you’ll enjoy quinoa that’s light, fluffy, and ready to impress!
Frequently Asked Questions
Can I Cook Quinoa With Other Grains Together?
Yes, we can cook quinoa with other grains together, but we need to contemplate quinoa pairings and adjust cooking ratios carefully. Let’s choose grains with similar timings for a deliciously balanced dish!
How Do I Adjust Cooking Time for Larger Quantities?
Sure, we can adjust cooking times for larger quantities! By maintaining the right measuring ratios and using techniques like low simmering, we’ll guarantee our quinoa turns out perfectly without any hassle. Let’s cook together!
Is It Safe to Eat Raw Quinoa Before Cooking?
No, eating raw quinoa isn’t safe due to potential raw quinoa dangers like saponins and bacteria. We should cook it for safety and to enjoy its health benefits, maximizing nutrition and delicious flavor together.
What Equipment Is Essential for Cooking Quinoa?
When we think about essential kitchenware for cooking quinoa, it’s clear: we need a medium saucepan, fine mesh strainer, measuring tools, and a fork for fluffing. These quinoa cooking tools make all the difference in our meals.
Can I Use Flavored Liquids for Extra Taste?
Absolutely, we can use flavored liquids for incredible taste enhancement! Whether it’s broth or fruit juice, they really elevate quinoa’s flavor profile. Let’s experiment together and discover our favorite combinations for deliciously seasoned quinoa!