As an Amazon Associate, we earn from qualifying purchases. Some links on this site are affiliate links at no extra cost to you. Our recommendations are based on thorough research and editorial judgment.
How To Frost A Cake Smoothly?
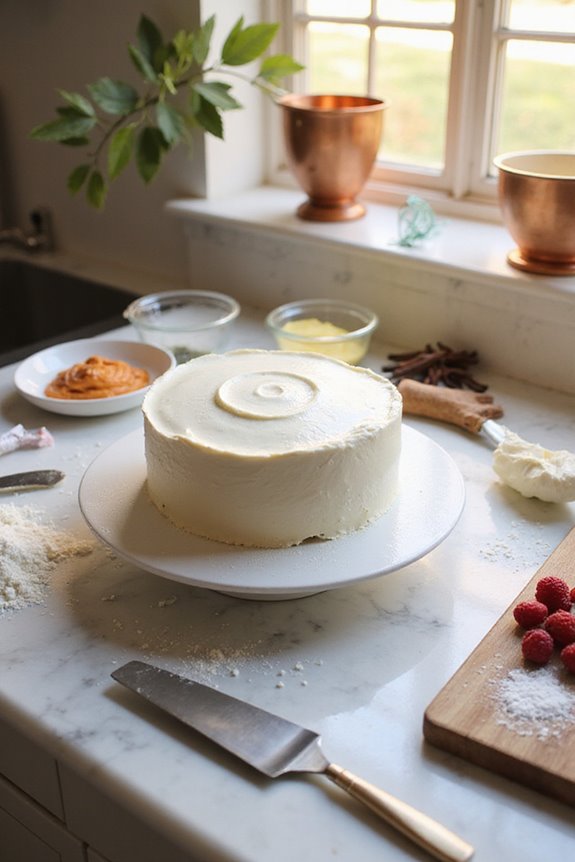
To frost a cake smoothly, we need some essential tools—like a cake turntable, offset spatulas, and a solid cake board. Start with cooled layers, chill them for stability, and whip up your frosting until it’s nice and creamy. When we apply the frosting, gentle touches without excess pressure will help us avoid dents. And remember, cleanliness is key! If we keep our tools wiped down, we can achieve that professional finish. Ready for some pro tips?
Key Takeaways
- Chill cake layers for 1-2 hours to firm them up and prevent sliding frosting during application.
- Use a turntable to easily rotate the cake while applying frosting evenly with offset and straight spatulas.
- Apply a thin crumb coat first, and chill it to stabilize the base layer for sharp edges.
- Use hot spatulas and scrapers to refine edges, achieving a smooth and polished finish.
- Keep tools clean and re-stir frosting regularly for a consistent, bubble-free application.
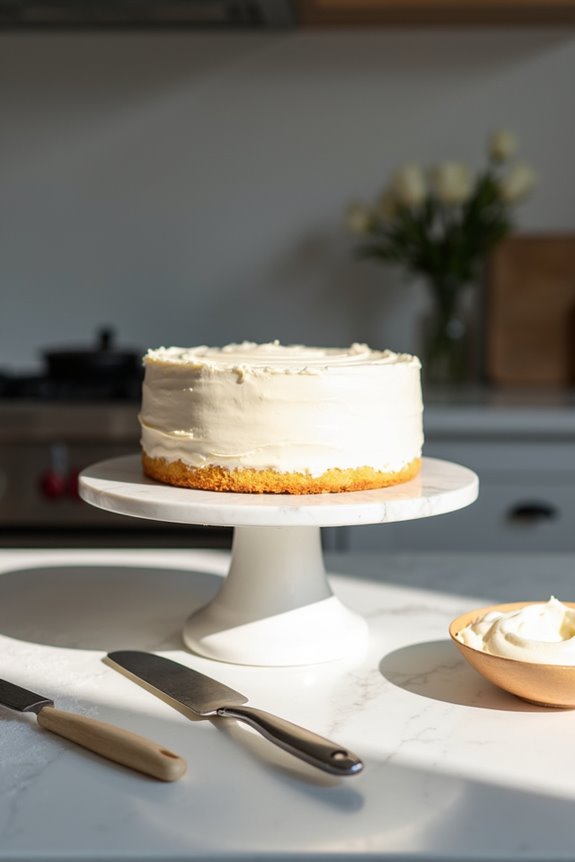
Essential Tools for Smooth Cake Frosting
You may be interested


When it comes to frosting a cake smoothly, having the right tools can make all the difference. First up, we need a cake turntable. This essential tool helps us spread frosting evenly while we rotate the cake, ensuring those beautiful sharp edges we crave. Next, we grab offset and straight spatulas to apply frosting without blocking our view. They’re fantastic for achieving that flat finish! Don’t forget frosting scrapers and smoothers to refine those edges and polish the sides. Warming our metal scrapers can soften frosting just right. And remember, a solid cake board offers stability that’ll make our frosting adventure much easier. Additionally, using high-quality materials in your kitchen can enhance the overall experience of cake preparation. So, let’s gear up! With these tools, our cake will look as good as it tastes.
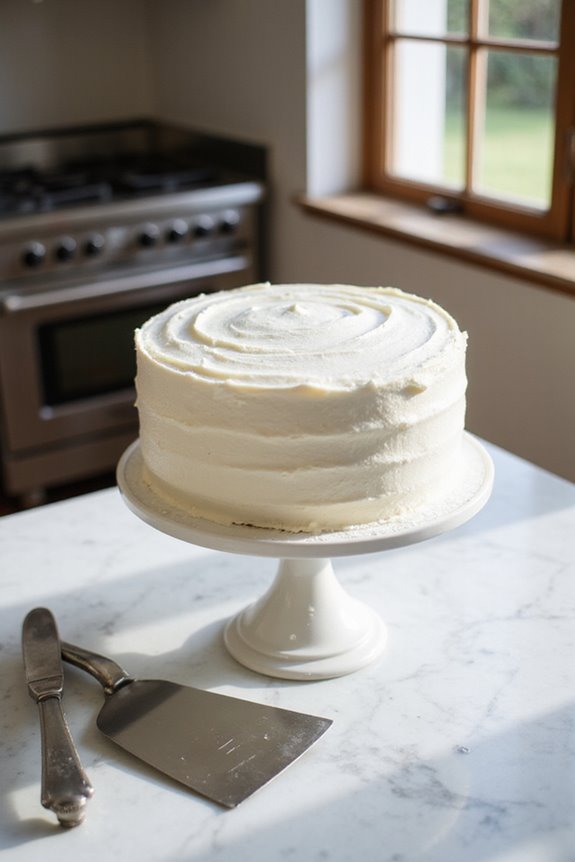
Preparing Your Cake and Frosting
Having gathered our trusty tools, we’re all set to take on the fun task of preparing our cake and frosting. First, let’s make certain our cake cooling is spot on—after baking, it needs to cool for about 30 minutes in the pan before moving to a rack. For best results, we chill our cake layers in the fridge for 1-2 hours. This helps firm them up—no one wants sliding frosting! While that’s happening, let’s whip up our frosting. If we’re using buttercream, we should guarantee it’s softened to room temperature for that perfect frosting consistency. A little tip: remember to re-stir to get rid of those pesky air bubbles. Additionally, using a flexible spatula can greatly improve the ease of frosting application. Now, we’re really on our way!
Effective Frosting Application Techniques
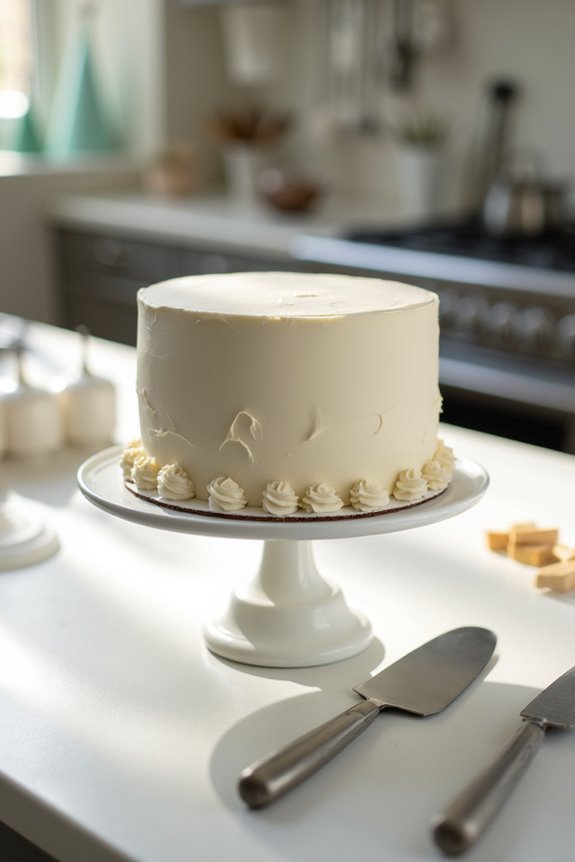
To achieve that flawless frosted finish we all dream about, we need to master a few effective application techniques. First, let’s talk about piping techniques. Using a piping bag with a wide tip helps us distribute frosting evenly, avoiding those pesky uneven patches. We can pipe frosting around the sides and top before smoothing it down.
Next, let’s use hot spatulas and bench scrapers to create that dreamy frosting consistency! A warm blade melts the buttercream just enough for a gorgeous finish. Remember to clean our tools often for the best results. Don’t forget to stack our layers evenly and, of course, take our time—good frosting is like a good friendship—it takes a bit of patience to perfect! Additionally, using a nonstick surface can help prevent the frosting from sticking to our tools, making the process smoother.
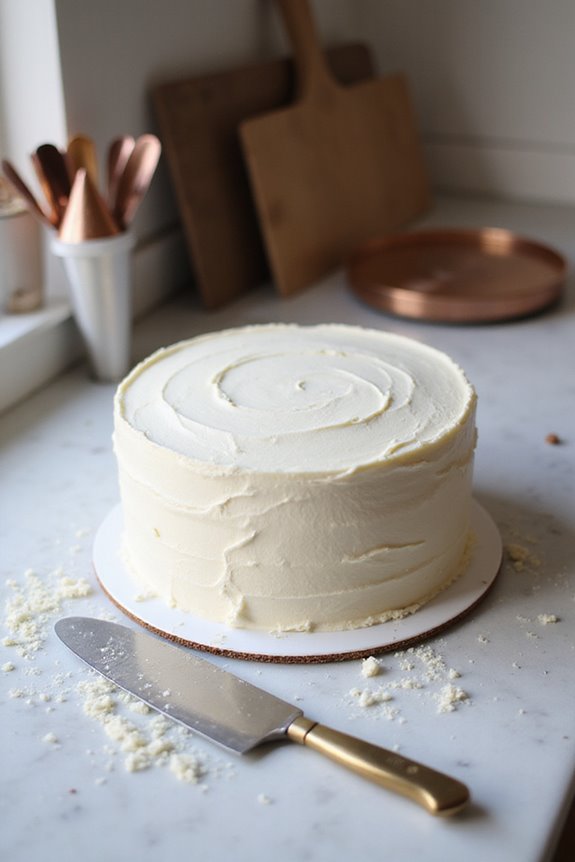
Achieving Sharp Edges and Clean Lines
Achieving sharp edges and clean lines on a cake isn’t just about the frosting; it’s a blend of techniques, tools, and a bit of love. First, let’s guarantee our frosting consistency is perfect—thick but spreadable. We can use edge techniques like the upside-down method for that crisp, level look. A turntable lets us rotate the cake smoothly while an offset spatula gives precision in spreading the frosting. Let’s make certain the crumb coat is chilled, creating a stabilized base for our masterpiece. When scraping, keep the bench scraper perpendicular to the sides for sharp edges. Remember, wiping the scraper often keeps excess frosting at bay—nobody likes a messy cake! Additionally, using nonstick surfaces on your baking sheets can help prevent any cake sticking issues, enhancing the overall frosting experience. Let’s embrace the process and enjoy those clean lines together!
Common Mistakes to Avoid for a Perfect Finish
While frosting a cake may seem straightforward, there are common mistakes that can turn our masterpiece into a frustrating mess. First, let’s chill those cake layers! Not doing so is a classic cake layer mistake; chilled layers are way easier to handle and less likely to crumble. Next, we need to pay attention to frosting temperature issues. Using warm frosting could spell disaster, making it runny and prone to collapse. Remember, a gentle touch is key during application—let’s avoid scraping too hard, or we might dent our hard work. And don’t forget to read through the recipe carefully! Following instructions leads to a smooth and professional finish. Additionally, using dishwasher-safe models for your tools can save time on cleanup, allowing you to focus on perfecting your cake. With these tips in mind, we’re well on our way to frosting success!
Frequently Asked Questions
Can I Use Store-Bought Frosting for a Smooth Finish?
Absolutely, we can use store-bought frosting for a smooth finish! With its various flavors and easy adjustments, we’ll enhance texture and achieve a delightful result that’s both beautiful and delicious for our cake.
How Long Should I Chill My Cake Before Frosting?
We should chill our cake for 1–2 hours before frosting, ensuring it’s firm and at the right temperature. Embracing this patience allows us to master our frosting techniques, transforming our creation into a dessert masterpiece.
What Type of Frosting Works Best for Smooth Application?
For smooth application, we love Swiss and Italian buttercream options for their luxurious textures, or even a silky ganache alternative. Each brings elegance and stability to our cakes, ensuring a delightful finish every time we bake together.
Can I Frost a Cake in Humid Weather?
They say “where there’s a will, there’s a way.” Yes, we can frost a cake in humid weather! By mastering frosting techniques and understanding humidity effects, we’ll create a delicious masterpiece together.
How Do I Fix Frosting That Has Become Too Soft?
To fix frosting that’s become too soft, let’s adjust its consistency by adding powdered sugar and chilling it. Keeping temperature control throughout the process helps us achieve that perfect, smooth finish we all crave.