As an Amazon Associate, we earn from qualifying purchases. Some links on this site are affiliate links at no extra cost to you. Our recommendations are based on thorough research and editorial judgment.
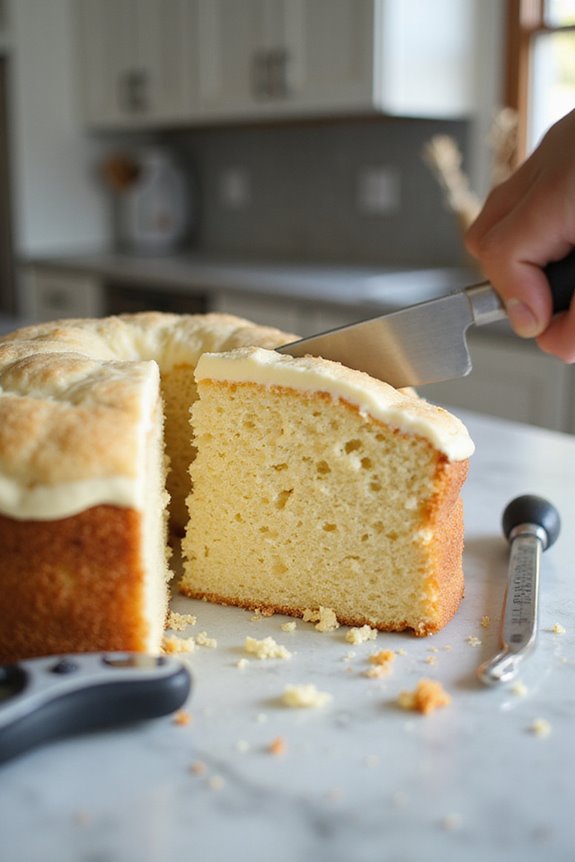
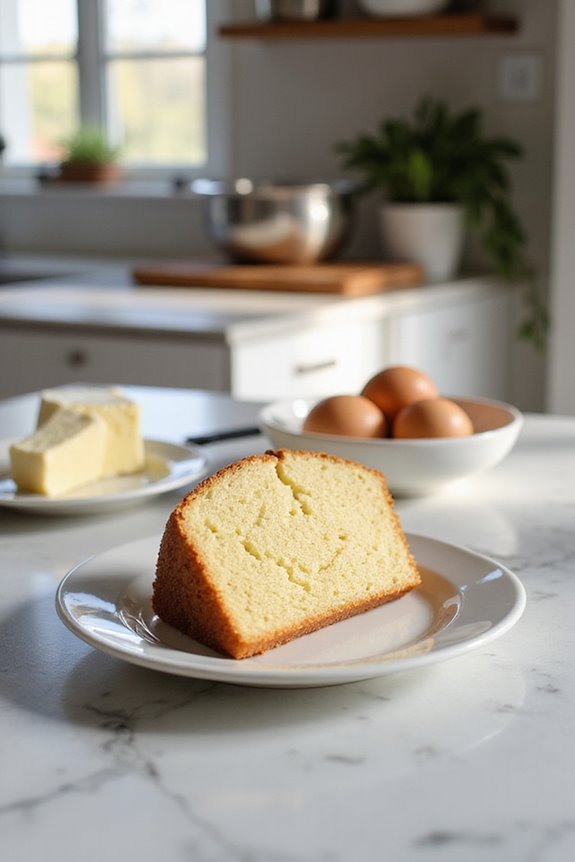
How To Fix Dense Cake?
To fix a dense cake, we need to focus on a few key areas. First, let’s check our ingredient ratios—make sure we balance fat, flour, and sugar correctly. Next, we should also double-check our leavening agents; they’re essential for that light rise. Proper mixing techniques matter too! Mixing just until combined helps prevent toughness. And, don’t forget to use the right pan size and grease it well! Stick with us, and we’ll uncover even more tips!
Key Takeaways
- Ensure proper ingredient ratios; avoid excessive weight from fat or an imbalance in flour and other ingredients that can lead to density.
- Optimize mixing techniques; don’t over-cream butter and sugar and mix ingredients just until combined to prevent gluten formation.
- Check leavening agents; ensure baking soda has sufficient acid or use double-acting baking powder for proper aeration and rise.
- Adjust moisture levels; consider adding more liquid or dairy to achieve a lighter and fluffier texture in your cake.
- Use the correct pan size; avoid overfilling and ensure batter fills only two-thirds of the pan for optimal rise and even baking.
Understand the Importance of Ingredient Ratios
You may be interested


When we bake a cake, it’s easy to think of it as just mixing ingredients together, but understanding ingredient ratios is the secret behind achieving that perfect texture we all crave. Proper ingredient proportions truly matter—let’s talk about it! Classic pound cakes follow a simple 1:1:1:1 ratio, while the 1-2-3-4 cake offers a balanced structure. By nailing these ratios, we control moisture and structure, impacting cake density. Even tiny deviations can lead to dense or crumbly outcomes, so let’s stick to the math! Remember, too much fat makes it greasy, while not enough can leave us with a dry disaster. With balanced ratios, our cakes can be just as light and delightful as we dream! Additionally, understanding timing accuracy is essential, as even the best ratios can be compromised without proper baking times.
Check Your Leavening Agents
One of the key steps to ensuring our cakes turn out light and fluffy is checking our leavening agents. If we’re using baking soda, let’s remember it needs acid—like buttermilk or lemon juice—to produce that coveted carbon dioxide. Otherwise, we might end up tasting something a little soapy! Baking powder, especially double-acting, gives us more flexibility, reacting both when mixed and baked. Now, if we want to try yeast fermentation for a unique flavor, we need to allow for more time. Keep an eye on those ratios, too; if they’re off, our cake’s rise—and yes, its taste—takes a hit. So, let’s choose our leavening agents wisely and watch our cakes delightfully soar! Additionally, using the right parchment paper can help ensure even baking and prevent sticking, enhancing the overall texture of your cake.
Master the Mixing Techniques
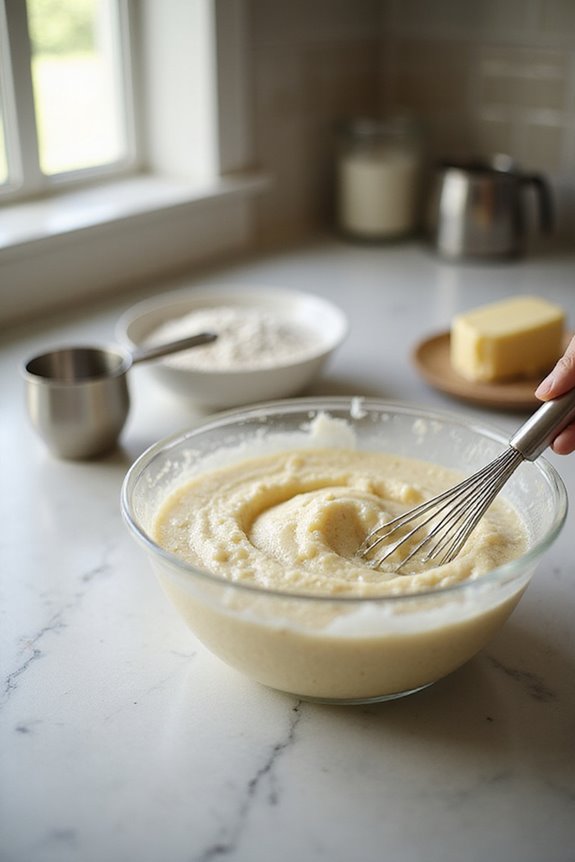
Mastering mixing techniques is essential for achieving that light and fluffy cake we all crave, so let’s dive right in! First off, we need to use the proper creaming technique. Make sure your butter’s at room temperature—trust us, this makes a world of difference. We’ll cream butter and sugar together for about 3-5 minutes, avoiding over- or under-creaming. Next, let’s focus on our mixing methods. Mix just until combined to keep gluten from getting too tough. Remember, adding ingredients in the right sequence is key—let’s not toss in eggs too early after the flour! Finally, warming up our ingredients helps everything blend smoothly and keeps our cake from being dense. Additionally, using heat-resistant materials can prevent melting and help maintain proper mixing temperatures during baking. Happy baking, friends!
Maintain Appropriate Baking Temperature
Achieving the perfect cake often hinges on maintaining an appropriate baking temperature, as it directly affects the final outcome. We’ve all been there—an ambitious bake that turns dense and sad. To avoid this, we need to stick to the recommended temperature range. Too high, and our cakes set too fast and become a chewy disaster. If we overplay the baking duration at a fixed temperature, we risk losing moisture. So, let’s preheat our ovens fully and maybe invest in an oven thermometer; our cakes deserve that extra TLC. Additionally, using the right baking sheet material can significantly influence heat distribution, ensuring that our cakes bake evenly. Also, remember to adjust our temperature based on cake size and type. With these approaches, we can enjoy a moist, light cake that’s delightful rather than dense! Happy baking!
Pay Attention to Ingredient Temperature
We’ve set the stage for a great cake with the right baking temperature, but there’s another key player we can’t overlook: ingredient temperature. Trust us, when we’re handling our ingredients, room temperature is magical! Cold butter and eggs can leave us with a dense cake because they don’t emulsify well, which means those precious air bubbles won’t form. We want our batter light and fluffy, right? So, let’s guarantee everything’s at room temp before we mix. It reduces the risk of stiff, stubborn batters and uneven mixing. Monitoring temperature effects is a small step we can take that makes a big difference. So, give those ingredients a little time to warm up—our cakes will thank us! Additionally, using energy-efficient appliances can help ensure that our baking process is both effective and environmentally friendly.
Balance Moisture and Fat Content
When it comes to baking the perfect cake, balancing moisture and fat content can feel like walking a tightrope. We’ve all experienced that dense cake that could double as a doorstop! To avoid this, it’s essential to choose the right fat types—think butter, oil, and shortening. Each has its own way of interacting with moisture. Too much fat can weigh our batter down, while too little leaves us with a tough cake. We need to optimize the protein-to-fat ratio to guarantee tenderness and structure. Let’s keep an eye on moisture levels, too; too much can create a gummy mess! So remember, striking that perfect moisture balance will lead us to lighter, fluffier cakes we can’t wait to share!
Avoid Common Mistakes in Baking
Even though baking can feel like a science experiment gone rogue, avoiding common mistakes can lead us to a perfect cake every time. Let’s start with overmixing. We want to gently combine our wet and dry ingredients to keep that delightful cake texture. Trust us, a little mixing goes a long way! Next, let’s chat about leavening agents. Always check for freshness—expired baking soda or powder can turn our fluffy dreams into dense realities. Maintaining the right oven temperature is critical too; a hot oven may set the edge too soon, trapping steam inside. Finally, remember, ingredients at room temperature mix better, so plan ahead. We’ve got this together! Happy baking!
Use the Right Type of Flour
Choosing the right type of flour can make all the difference in our cake-baking adventures. For the softest cake, we should reach for cake flour, with its low protein content ranging from 5% to 8%. This flour lets us achieve that delicate crumb we all crave. If we only have all-purpose flour, which packs more protein (9% to 12%), we might end up with a denser cake. Pastry flour, a middle-ground choice, brings a lovely balance of tenderness and flakiness. Let’s steer clear of bread flour—at 12% to 15% protein, it’s just too tough for the light cakes we want. Remember, lower protein flours also retain more moisture, so let’s sprinkle that flour magic everywhere!
Measure Ingredients Accurately
After we’ve picked the right flour, it’s time to tackle another key factor: measuring our ingredients accurately. Trust me, using digital scales for ingredient weighing is a game changer! They eliminate guesswork, giving us exact measurements that yield consistent, fluffy cakes. So, let’s remember to adjust our measuring techniques based on what we’re using—fluff that flour before spooning it in, and don’t forget to pack brown sugar firmly! And when it comes to sticky liquids, a little grease in that measuring cup works wonders. Leveling off our ingredients using a straight edge keeps those pesky compactions at bay, ensuring our cakes rise beautifully. The goal here? Perfect, light cakes every time, and a little practice will get us there!
Sift Dry Ingredients Before Mixing
When we plunge into baking, one of the smartest moves we can make is to sift our dry ingredients before mixing. Sifting techniques not only aerate our flour, making it lighter, but they also eliminate those pesky lumps that can lead to uneven texture. We all want a cake that’s light and finely crumbed, right? By incorporating air through sifting, we kick-start ingredient aeration, which guarantees that our leavening agents and flavors blend seamlessly. If we’re working with tricky ingredients like cocoa or bleached flour, a little extra sifting can do wonders. Just remember, while sifting helps, whisking can boost our ingredient harmony even more. So, let’s embrace this simple step and watch our cakes rise to glorious heights!
Adjust for Oven Variations
Even if we follow every step of a cake recipe to the letter, our oven can throw a wrench in the works if it’s not calibrated properly. We’ve all been there—an oven that’s running too hot or cold can lead to a dense cake disaster. That’s where an external oven thermometer comes in; it can help verify our oven calibration and guide us in adjusting the temperature. Remember, if the oven runs hot by 10°F, we should lower the dial accordingly. And speaking of heat distribution, many kitchens have hotspots that cause uneven baking. Rotating our cake pan halfway through baking can help even out those hot zones, ensuring our cake rises perfectly every time. Happy baking!
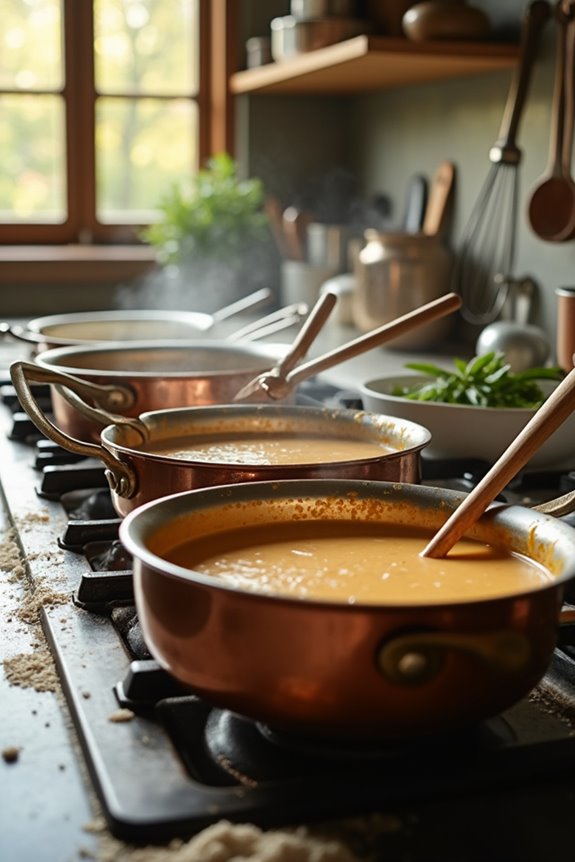
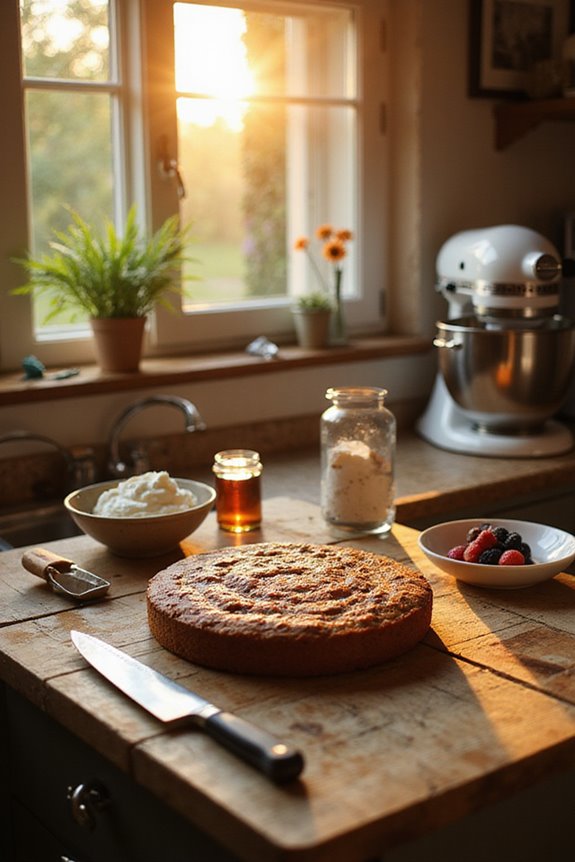
Choose the Correct Pan Size
Choosing the right pan size is essential for a successful cake, and let’s be honest—no one wants a dense cake that feels like a brick, right? When we talk about pan measurement, we need to think about how the volume can affect our cake. If we overfill a pan, we’re headed for a dense, undercooked center. Ideally, we want our batter to be about two-thirds full, giving it room to rise beautifully. Plus, matching pan volume to our recipe means we don’t mess with baking time. Remember, a common 9×2 inch round pan holds around 8 cups of batter, perfect for standard layers. So, let’s measure carefully and avoid those unfortunate baking mishaps together!
Properly Grease Baking Pans
After getting our pan size just right, the next step to cake success is properly greasing our baking pans. We can use various grease types—traditional butter or shortening is a classic, but let’s not forget baking spray for convenience! With butter application, we should coat the entire interior, then add flour to cover any nooks. For a twist, how about a sugar coating? This not only helps with release but adds a delightful crunch! And when we’re feeling fancy, placing parchment paper in layered cakes gives us that extra safety net. Remember, properly prepared pans prevent dense disasters, and we want our cakes to rise like our spirits when we bite into them!
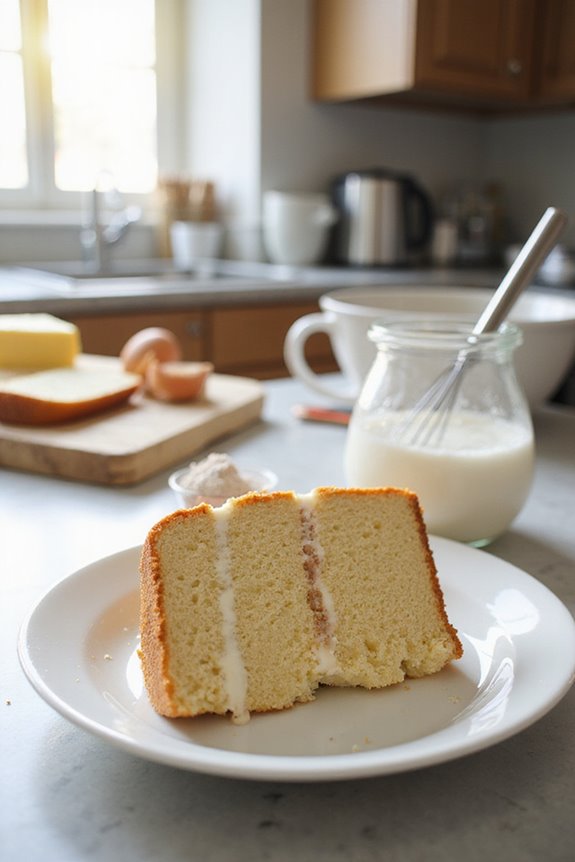
Incorporate Dairy for Moisture
When it comes to achieving a moist and tender cake, incorporating dairy is like adding a secret ingredient to our baking arsenal. Different dairy types can work wonders for moisture balance—think whole milk, buttermilk, or even sour cream. Whole milk gives a nice, neutral flavor, but buttermilk? It’s a game changer thanks to its acidity, which breaks down gluten and gives us a lighter crumb. Plus, that fat in dairy coats our gluten and keeps cakes from turning tough. We should avoid going overboard on dairy, though, to prevent a heavy batter. So, let’s swap out whole milk for buttermilk next time. Our cakes will thank us with a tender, moist crumb that’s simply irresistible!
Experiment With Recipe Adjustments
To create the lightest, fluffiest cake possible, we can make some clever adjustments to our recipes. First, let’s try ingredient substitutions like replacing milk with buttermilk or sour cream for that delightful acidity that breaks down gluten. We can also swap butter for vegetable oil for more moisture—who doesn’t love a soft crumb?
Now, if we’re feeling adventurous, we might explore flavor infusions with pudding mix! Just imagine that rich taste, adding to our cake’s lightness. Remember, we should also beat our butter properly and keep all ingredients at room temperature to help everything come together beautifully. So, let’s embrace these tweaks, and make our cakes lighter and more delicious than ever! Happy baking!
Frequently Asked Questions
Can I Save a Dense Cake by Adding More Leavening Agent Later?
No, we can’t save a dense cake by adding leavening agents later. Once baked, the cake’s texture is set, and extra leaveners won’t improve it. Let’s focus on getting it right before baking!
What Are Signs That a Cake Is Underbaked Despite Being Dense?
We can tell a cake’s underbaked if it has a gummy texture and doesn’t spring back. If it looks shiny and requires more baking time, we should definitely check inside for that dry crumb!
How Does Altitude Affect Cake Density and What Adjustments Are Needed?
Altitude baking can really challenge us, can’t it? We’re reminded to make specific cake adjustments, like reducing leavening agents and increasing liquid, ensuring our creations are light and delightful, rather than dense and uninviting.
Can I Freeze a Dense Cake to Improve Its Texture?
Yes, we can freeze a dense cake to improve its texture! Using a proper freezing method helps stabilize crumbs and moisture, giving us a delightful consistency when we enjoy it after thawing. Let’s give it a try!
Should I Re-Bake a Dense Cake or Try to Salvage It Another Way?
We shouldn’t re-bake a dense cake; it often worsens cake texture. Instead, let’s explore baking techniques to salvage it—like infusing moisture or reimagining it into delicious layered desserts. Together, we can transform our baking mishaps!