As an Amazon Associate, we earn from qualifying purchases. Some links on this site are affiliate links at no extra cost to you. Our recommendations are based on thorough research and editorial judgment.
How To Season A Cast Iron Pan?
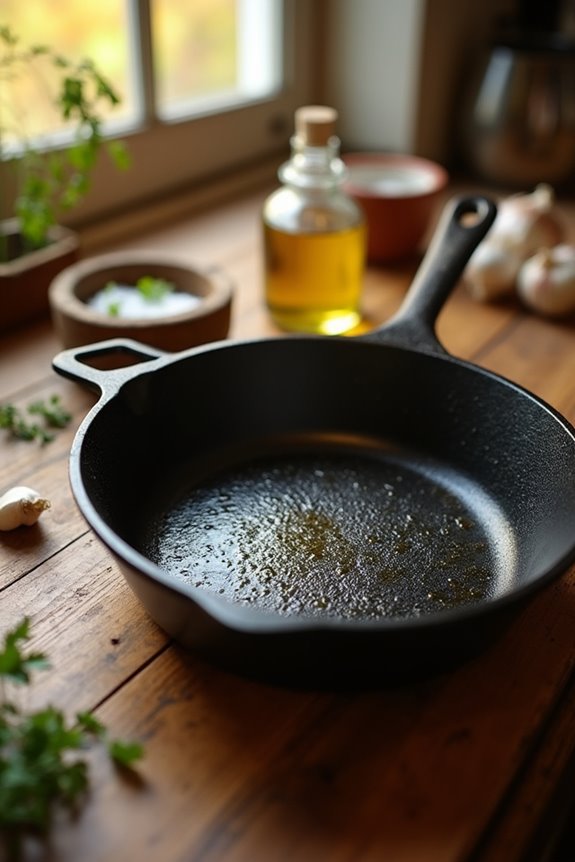
Seasoning a cast iron pan is a game-changer for better cooking. First, let’s scrub it clean and dry it completely. Then, apply a thin layer of high-smoke-point oil. We’ll pop it in a preheated oven at 450°F for an hour—upside down to catch drips! Cooling it down in the oven helps solidify our seasoning. Remember to maintain it with a light oil layer after each use. Stick around, and we’ll share more tips for perfecting your cast iron!
Key Takeaways
- Clean the pan thoroughly by removing rust and residue, then dry it completely before seasoning.
- Apply a thin, even layer of high smoke point oil to the entire surface of the pan.
- Preheat the oven to 450°F, place the pan upside down, and bake for an hour.
- Allow the pan to cool gradually in the turned-off oven for at least two hours.
- Regularly apply a thin layer of oil after each use to maintain seasoning and prevent rust.
Understanding the Importance of Seasoning
You may be interested


When it comes to cooking with cast iron, seasoning is more than just a method; it’s a ritual. We all know the importance of seasoning; it protects our beloved cookware from oxidation and guarantees it lasts for years to come. Without that protective layer, our pans would quickly rust, thanks to moisture and air.
Seasoning creates a beautiful non-stick surface that makes cooking a breeze—and we should definitely appreciate that! It also enhances cooking performance, giving us even heating and better flavor in our dishes. Plus, let’s face it: nobody wants to eat metallic-tasting food! So, let’s cherish our seasoning rituals, build those layers, and keep our cast iron pans in tip-top shape. It’s worth the effort, trust us! Additionally, through proper care instructions, we can ensure the longevity and effectiveness of our cast iron skillets.
Essential Tools and Materials Needed
Let’s gear up and get everything we need to season our cast iron pan just right! First, we’ll need some good oils; I recommend flaxseed oil for its high smoke point and fantastic polymerization. A few cotton rags will help us with the oil application, so grab some! We can also use a random-orbit sander with varying grit sandpaper — think 80, 100, and 120 — to handle any rust and bring our pan back to life. Don’t forget your safety gear like gloves and goggles while we work those sanding techniques! Finally, let’s set a reliable oven to a high temp and have some baking sheets ready to catch drips. Now we’re ready to transform that pan! Proper maintenance is crucial for longevity, as cast iron skillets require hand washing and re-seasoning to maintain their non-stick properties.
Recommended Products

100% PURE COLD PRESSED FLAXSEED OIL – NON-GMO & VEGAN → Made from premium flax seeds gently cold-pressed at low temperatures to retain the natural golden color, mild nutty taste, and complete fatty acid profile with over 50% alpha-linolenic acid (ALA); triple-filtered for clarity and bottled immediately; no solvents, no hexane, no additives – just pure liquid flax seed oil ready for kitchen or beauty use

✓ 100% PURE, COLD-PRESSED FLAX SEED OIL FROM USA-GROWN SEEDS: Each bottle contains premium linum usitatissimum seed oil gently cold-pressed with zero heat or chemicals to preserve natural nutrients – the purest flaxseed oil available for daily use in smoothies, salads, or direct supplementation

PURE, ORGANIC AND UNREFINED: Barlean's lignan flax oil is cold pressed without the use of heat or solvents. Each drop is protected from damaging heat and light from seed to bottle, offering a potent balance of Omegas 3, 6, and 9 essential fatty acids. Made in the USA since 1992
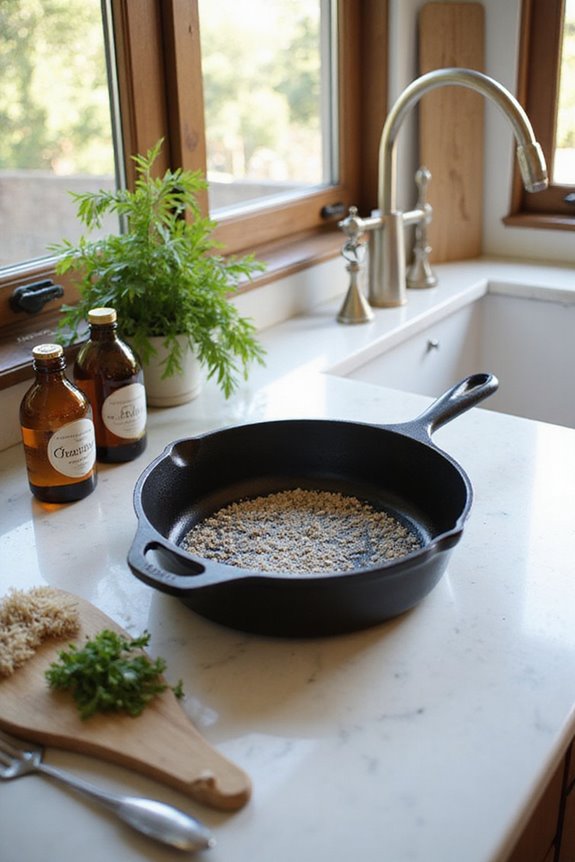
Cleaning Your Cast Iron Pan
Cleaning a cast iron pan right after use makes a world of difference—trust me on this one! We’ve found that doing this while the pan’s still warm helps loosen stuck-on food. Pour warm water in, grab your wooden spoon or a gentle brush, and scrape away that residue. Let’s skip the harsh abrasives; we want to protect that beautiful seasoning we worked so hard on. While small amounts of mild soap are okay, it’s best to use it sparingly—rinse thoroughly afterward. And please, no soaking! We don’t want rust setting up camp. After a quick cleaning, let’s dry the pan on the stovetop, ensuring it’s nice and bone dry before we store it. Remember, proper cast iron skillet maintenance can significantly enhance the longevity of your cookware. Happy cooking!
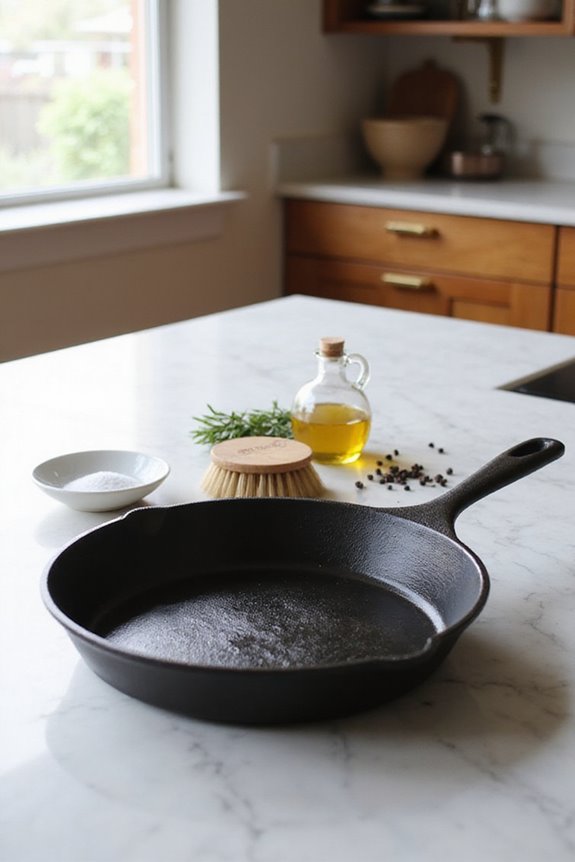
Preparing the Pan for Seasoning
Getting your cast iron pan ready for seasoning is an essential step that can make all the difference in its performance. First, we inspect the pan for any old rust or residue. We gently remove this with a scraper or fine steel wool—no need to go full Hulk on it! For stubborn spots, a baking soda paste works wonders. Once it’s spotless, we have to dry it completely because moisture loves to ruin our hard work. A quick heat on the stovetop helps here. Finally, let’s preheat the oven to a solid 450°F and line the rack below with foil for easy cleanup. Additionally, regular seasoning enhances cooking quality and prevents rust, ensuring the pan lasts for years to come. By following these residue removal and prep techniques, we’re setting the stage for a beautifully seasoned pan!
Choosing the Right Oil

Choosing the right oil is essential for getting that perfect seasoning on our cast iron pan. High smoke point oils like canola, grapeseed, and sunflower are our best friends here. They can take the heat without burning. For something special, we might try flaxseed oil; it’s got super polymerization properties that lend a tough, non-stick surface. We can also explore oil combinations to balance flavor and durability. While refined oils are key, natural options like lard or coconut oil have their charm too, just watch out for rancidity! Remember, using pure oils—like 100% sunflower or grapeseed—ensures our seasoning won’t turn into a sticky mess. Let’s be picky! The right oil makes all the difference in our cooking adventures. Additionally, utilizing tools like a heavy-duty shelving unit can help keep your kitchen organized while you perfect your seasoning technique.
Recommended Products
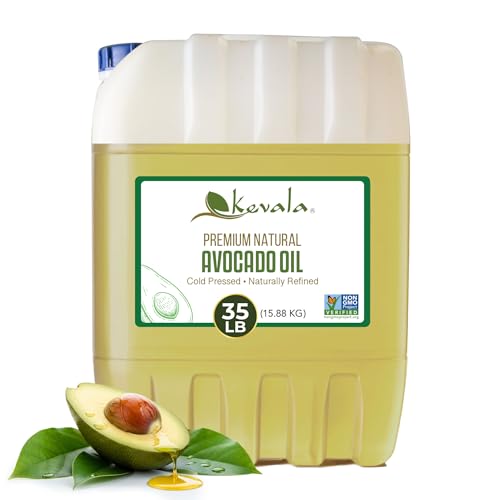
NATURAL AND COLD PRESSED - Cold pressed from select avocados without hexane or solvents. Minimally processed to help retain natural properties. Ideal clean cooking oil option for frequent use.

100% Pure Avocado Oil, Expeller Pressed, All Natural & Hexane-Free

EXTRA VIRGIN AVOCADO OIL, FIRST COLD PRESSED & UNREFINED: Six bottles of single-origin Mexican avocado oil, gently cold pressed in small batches from perfectly ripe avocados with the skin and seed removed. A true unrefined extra virgin avocado oil, bottled just as it's pressed with nothing added.
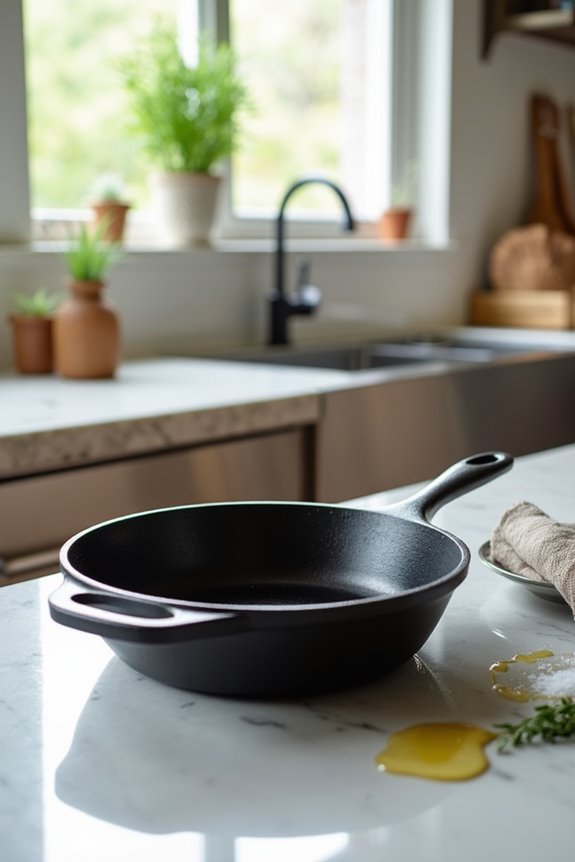
Applying Oil to the Pan
Now that we’ve picked the perfect oil for our cast iron pan, it’s time to get our hands a little messy and apply it like a pro. We’ll start with a very thin, even layer, covering the entire pan—inside, outside, and even the handle. Remember, less is more! If we go heavy, we’ll end up with a sticky finish instead of that smooth, hard seasoning we want. Using a lint-free cloth, we’ll rub the oil in circular motions to avoid any blotches. After our oil application, let’s double-check for any pooling or heavy spots—no one likes those! Once we have it just right, we’re ready to move on to the next step in our seasoning techniques. Let’s keep this pan shining!
Recommended Products
✔ [VERSATILE CLEANING SOLUTION] — Our 12”x12” Disposable Microfiber Cloth is designed for tasks that may damage traditional microfiber towels, offering lint-free cleaning with its split fibers, safe for use on various surfaces including windows, automotive finishes, and more.
PREMIUM NEW COTTON KNIT MATERIAL: Made from new premium 100% cotton knit t-shirt material, these white rags for cleaning are soft, absorbent, and durable for everyday wiping. Ideal as window rags, paint rags, and dust cloths for dusting for home, garage, shop, housekeeping, and on-the-job cleaning use.

Our lint free cloth is made of 100% ring spun Cotton fabric which ensures long term use. They are ideal cleaning rags for housekeeping.
Preheating Your Oven
Preheating your oven is an essential step in the seasoning process, and it’s something we absolutely don’t want to overlook. We need to set those oven settings just right! Ideally, we should aim for a temperature between 400°F and 500°F to really get that oil doing its magic. If we start lower, around 200°F, it warms the pan gently before we ramp it up. Remember to place the cast iron upside down to prevent pooling—no one wants an oil lake! We’ll let it preheat for about 15-20 minutes, and that steady heat guarantees our seasoning sticks without any sticky patches. So, let’s give our pan the best shot at durability—it deserves it!
The Baking Process Explained
While we may think the hard work is done once we’ve prepped our cast iron pan, it’s in the baking process where the real magic happens. For those of us enthusiastic to dispel seasoning myths, we’ll want to apply that very thin layer of high smoke point oil—trust us, less is more here! As we slide the pan upside down into our preheated oven, let’s remember our baking techniques: timing is key. Aim for that sweet spot of 450 to 500°F for an hour or so. We may even repeat the oil layering in one session to speed up a smooth, durable finish. And don’t forget—a little patience goes a long way in creating the non-stick masterpiece we all crave!
Cooling Period After Baking
After we’ve spent the time seasoning our cast iron pan, we can’t rush the cooling period—it’s just as essential as the baking process. Let’s keep our pan inside the turned-off oven for at least two hours; this slow cooling helps solidify the seasoning layers and prevents any stickiness. While we wait, let’s avoid opening the oven door to maintain that cozy, consistent temperature. Look for cooling signs like the absence of smoke or lingering odors, which means our seasoning is properly hardening. If we’re feeling adventurous, cooling on an oven rack upside down keeps dust away. Trust us; this method strengthens our seasoning, giving it that beautiful, smooth finish we all love. Patience here equals perfection!
Repeating the Seasoning Process
When it comes to repeating the seasoning process, we can’t underestimate its importance for achieving that perfect, non-stick finish on our cast iron pans. Each seasoning cycle builds layer thickness and enhances rust resistance. So, let’s embrace multiple rounds! We start by applying a thin layer of polymerized oil, ensuring we wipe off any excess to prevent oil pooling. After a good bake, we can even double up on batches without letting the pan cool completely. Remember, as we increase baking temperatures and times, we promote deeper seasoning and smoother patina development. For older pans with surface irregularities, repetition is key. By cooking frequently, we can naturally build up those non-stick layers. Let’s keep our pans in great shape!
Benefits of Properly Seasoned Cast Iron
Seasoning a cast iron pan isn’t just a chore; it’s the secret ingredient to creating a kitchen superstar! When we season our pans, we reveal amazing health benefits and enhance the flavors of our meals. That natural, chemical-free non-stick surface reduces the need for excess oils, allowing us to cook healthier dishes. Plus, a well-seasoned pan improves heat retention, distributing it evenly for perfect searing or slow cooking.
Let’s not forget the iron infusion! Cooking in seasoned cast iron can remarkably boost the iron content of our favorite recipes. Over time, our seasoning builds flavor, giving our dishes a delicious depth that’s hard to resist. So, let’s embrace the magic of seasoning and make every meal a delightful experience!
Maintenance Tips for Longevity
Keeping our cast iron pans in top shape is essential for enjoying all those tasty meals we love to cook. First things first, let’s avoid soaking our pans. Prolonged moisture exposure can lead to rust, and we definitely don’t want that! Instead, after cleaning, let’s dry them thoroughly—using a towel followed by a warm oven can work wonders in preventing rust. Regularly applying a thin layer of cooking oil after each use boosts seasoning and enhances durability. Oh, and when cooking, moderate heat is key; let’s keep those seasoning layers intact. By treating our pans with care, we’ll enjoy them for years to come, making every meal something to savor. So, let’s keep that rusty taste at bay!
Troubleshooting Common Issues
We’ve covered some important maintenance tips to keep our cast iron pans in peak condition, but even the best pans can face hiccups now and then. If we notice sticky seasoning, it often means we’ve used too much oil during seasoning. Let’s aim to apply thinner layers next time. We can heat those sticky spots slowly, and with a little patience, they’ll smooth out with regular use. If rust shows up, let’s tackle it head-on with some good scrubbing—steel wool works wonders! After rust removal, remember to dry thoroughly and oil promptly to prevent a repeat offense. With time and care, our pans can turn from troublesome to trusty, ready for our next culinary adventure.
Recommended Products

This All-Clad HA1 Hard Anodized Nonstick cookware set includes 8 inch, 10 inch, and 12 inch Fry Pans, 2 quart and 3 quart covered Sauce Pans, 4 quart covered Sauté Pan, 4 quart covered Soup Pot, and 8 quart covered Stockpot

A versatile piece featuring a large surface area for searing, with straight sides to hold in liquid and prevent splattering and lid to lock in moisture

VERSATILE COOKWARE: 3 pan sizes for every need: 12" Sauté Pan with lid, 10" Fry Pan, 8" Mini Fry Pan. Perfect for slide-off-the-pan eggs, sauteing veggies, flipping pancakes, dishes with stock, stir fries and more. Durable, non-stick pans makes cooking easier than ever, cleaning (dare we say) enjoyable, and adds a pop of color to any home.
Alternatives to Oven Seasoning
While many cooks rely on their ovens to season cast iron pans, there are plenty of great alternatives when you want to avoid that extra step. One effective method is stovetop seasoning, which we find quite handy. We start by cleaning the pan and applying a thin coat of high-smoke-point oils like vegetable or flaxseed. Gently heat it on the stovetop until the oil smokes lightly – that’s when the magic happens! We can even mix oils, such as coconut and avocado, for a balanced approach. Remember, patience is key; repeat the heating a few times for the best results. With a little care, we can maintain our beloved pans without ever needing the oven again. Happy cooking!
Recommended Products

High in monounsaturated fat.

ORGANIC EXTRA VIRGIN AVOCADO OIL, FIRST COLD PRESSED & UNREFINED: Pressed in small batches from perfectly ripe organic certified avocados with the skin and seed removed, then bottled just as it's pressed with nothing added.

Refined for neutral odor and flavor for use in any recipe where an avocado flavor is not desired
Frequently Asked Questions
Can I Season My Cast Iron Pan on the Stovetop?
Absolutely, we can use stovetop seasoning for our cast iron care. It’s a handy method, letting us directly apply heat and achieve great results, especially when oven seasoning isn’t an option. Let’s give it a try!
How Often Should I Re-Season My Cast Iron Pan?
We should re-season our cast iron pans about twice a year to guarantee their longevity. By using effective seasoning techniques, we can maintain that beautiful non-stick surface and enjoy cooking with ease together.
What Should I Do if My Seasoning Becomes Sticky?
If our seasoning’s sticky, let’s scrub it with some tough cleaning techniques, then reseason using thin oil and high heat. We’ll keep our cast iron smooth and ready for perfect meals together!
Is It Safe to Use Soap on a Seasoned Cast Iron Pan?
Absolutely, it’s safe to use mild soap on our seasoned cast iron. Let’s remember to embrace those cleaning techniques and maintenance tips; a little soap won’t ruin our hard-earned seasoning, just keep it gentle!
Can I Use Olive Oil for Seasoning?
Absolutely, we can use olive oil for seasoning! Its benefits include availability and a subtle flavor. However, we should consider using refined oils for better durability and resilience in our cast iron cookware.