As an Amazon Associate, we earn from qualifying purchases. Some links on this site are affiliate links at no extra cost to you. Our recommendations are based on thorough research and editorial judgment.
How To Clean A Blender?
To clean a blender, we first unplug it—safety first, right? Then, we can detach the jar and lid. For a quick clean, fill the jar with lukewarm soapy water, secure the lid, and blend for 15-30 seconds. Rinse well to banish any soap residue. If we face stubborn grime, a paste of baking soda works wonders! Let’s not forget the base; wipe it down with a damp cloth—avoid immersing it! There’s more to keep our blender happy, so let’s explore those tips next!
Key Takeaways
- Always unplug the blender before cleaning to avoid accidental startups and ensure safety.
- Fill the blender jar with lukewarm water and a drop of dish detergent, then blend for 15-30 seconds.
- For stubborn residue, use a baking soda paste or a vinegar-water mix, blending for added effectiveness.
- Clean the blender base and controls with a soft, damp microfiber cloth, avoiding immersion in water.
- Detach and air dry removable components thoroughly to prevent mold growth and maintain hygiene.
Unplugging and Disassembling the Blender
You may be interested


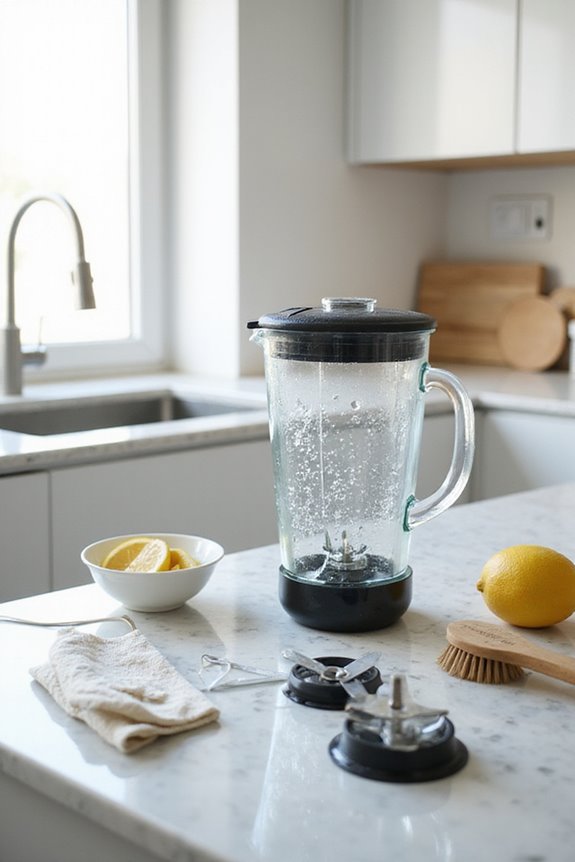
Before we get started with cleaning our blender, let’s take a moment to guarantee our safety. First up, we always want to use our unplugging techniques. Unplugging the blender is essential to prevent any accidental startups, which can be startling—trust us! We’ve learned the hard way to make sure our hands are completely dry and that the switch is off before we pull that plug. Once it’s safely unplugged, we can disassemble the blender. Depending on our model, we’ll twist or lift the blender jar off the base. Let’s remember, don’t force it if it resists; we can check the user manual for guidance. This careful approach helps us protect not just ourselves, but our precious blender, too! Additionally, ensuring that the blender is easy to clean will enhance our experience and maintain its longevity.
Cleaning the Blender Jar and Lid
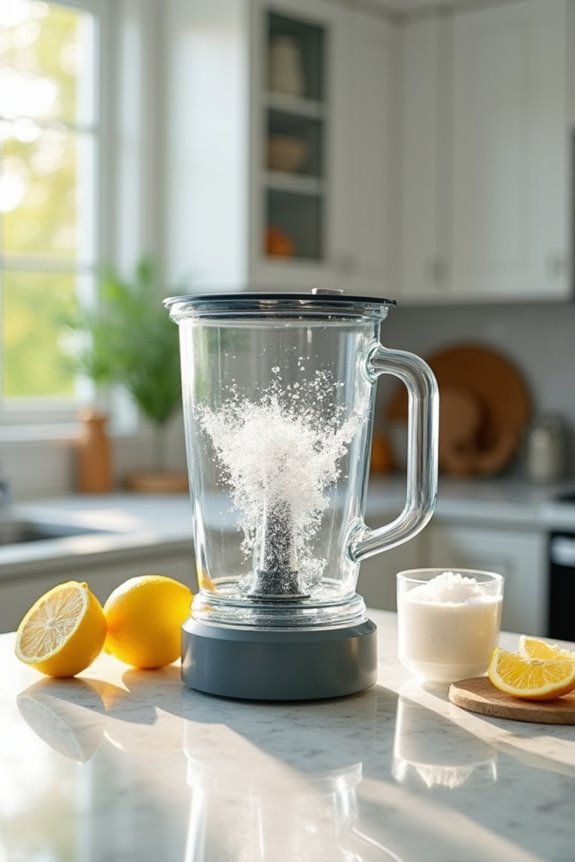
Cleaning the blender jar and lid is an essential part of maintaining our kitchen appliance’s performance and hygiene. Let’s fill the jar halfway with lukewarm water and just a drop of dish detergent. We’ll secure the lid and blend at high speed for about 15-30 seconds—goodbye, stubborn residue! After pouring out the soapy water, let’s rinse it thoroughly to avoid any soap residues.
Now, don’t forget the lid! Many include parts that we can detach for a deep clean. A gentle scrub with warm water guarantees those pesky food particles and odors are gone. Rinse them well, then air dry completely to keep mold at bay. With these cleaning solutions, we’ll maintain a fresh blender for all our culinary adventures! Additionally, using dishwasher-safe parts can further simplify the cleaning process for kitchen appliances like blenders.
Techniques for Stubborn Residue
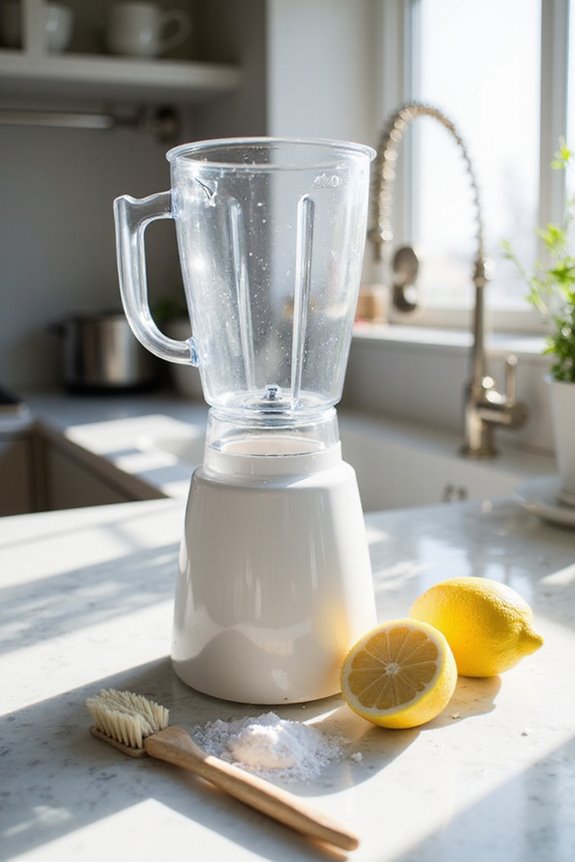
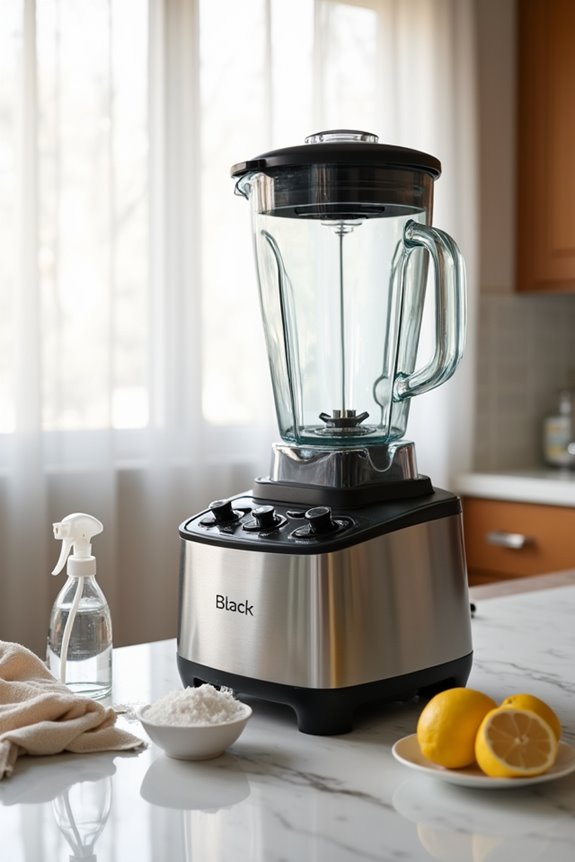
Stubborn residue in our blenders can feel like that pesky guest who just won’t leave, can’t it? Fortunately, we’ve got some tricks up our sleeves! Let’s start with baking soda benefits. Mix it with a bit of water to create a paste and gently scrub away tough grime. For those sticky deposits, a vinegar alternative works wonders—just mix 1/4 cup of white vinegar with warm water, let it do its magic, and watch the residue dissolve. If things are really stubborn, blending vinegar with baking soda for about 30 seconds can break down crusty buildup before we scrub. Remember, these natural ingredients keep our blenders safe and clean without the harsh chemicals. Additionally, using high-temperature resistance materials in kitchen tools can prevent damage during cleaning. Let’s get scrubbing!
Cleaning the Blender Base and Controls
While it might be easy to overlook, the blender base and controls need just as much love and care as the pitcher. We should unplug our blender before cleaning—safety first, right? Let’s grab some all-purpose cleaner and a soft, damp microfiber cloth. This combo will work wonders on spills and stains. For those tricky spots between buttons, a soft-bristled toothbrush is our trusty sidekick. If our blender has a stainless steel base, a dab of glass cleaner will leave it shiny and streak-free. Remember, never immerse the base in water! A little routine maintenance can keep our blender looking great and functioning well, making our blending adventures much more enjoyable. Additionally, using soft, skin-friendly materials for cleaning can help prevent discomfort during prolonged use. Let’s show our blenders some love!
Essential Safety Tips
Taking care of our blenders doesn’t just stop at cleaning the pitcher and base; it’s also about keeping safety in mind. Let’s remember that neglected parts can hide bacteria and mold, and we definitely don’t want that in our smoothies! Always unplug the blender before we start cleaning, and detach those removable components to guarantee proper blender hygiene. We shouldn’t submerge the base or let water get to the motor, and checking for cracks is a must. After cleaning, let’s store our blender in a dry place to keep moisture at bay. And hey, if we’ve got blades, all the more reason to store them safely! With these tips, we can blend and sip without worry! Additionally, maintaining a clean blender is essential to ensure that we enjoy safe and hygienic smoothies.
Maintenance Tips for Blender Longevity
When it comes to keeping our blenders running smoothly and lasting longer, a little maintenance goes a long way. First, let’s keep those blades sharp! We should inspect them regularly, as dull blades just strain the motor. If they need some love, a proper blade sharpening, or replacement when necessary, is vital. Plus, ingredient prepping is essential; we should soften hard foods before blending to minimize wear on those sharp edges. And how about storing our blender? We must keep it dry and cool, avoiding placement near heat sources. Finally, let’s remember to clean and dry our components thoroughly to prevent mold and rust. A little attention today guarantees our blender’s performance tomorrow!
Frequency of Cleaning
Cleaning our blender might seem like a chore, but routine maintenance is vital for keeping it in top shape. We recommend a solid cleaning schedule: after every use, let’s rinse the blender jug and blades with warm water to prevent food particles from drying. A quick blend of warm water and dish soap works wonders, taking just 30 seconds! For regular users, a deep clean once a month is a must. We just disassemble all parts and soak them in a vinegar-water mix to tackle stubborn grime. If you blend sticky or perishable ingredients, following these frequency guidelines is important. Remember, keeping our blender clean not only protects our health but also preserves those delicious flavors!
Best Practices for Daily Care
To keep our blender performing like a champ, we should embrace a few best practices for daily care. Let’s make it a part of our daily routines to rinse the blender jar right after we’re done using it. A little warm water and dish soap can prevent food residue from drying up and getting stuck. Remember, blending that soapy water helps dislodge those pesky bits! After cleaning, we ought to let the parts air dry to avoid mold—no one wants that! Another preventive measure is to inspect the components for any debris. It’s a small step that goes a long way in keeping our blender fresh. With these simple habits, our trusty appliance will stay in tip-top shape!
Handling Dishwasher-Safe Parts
Handling dishwasher-safe parts of our blender is a breeze once we get the hang of it. Most of the parts, like jars, lids, and blades, can go straight into the dishwasher. Just remember to follow the cleaning recommendations: place sealing rings and smaller items in the bottom basket, while larger jars fit best on the bottom rack. The top rack’s a safe space for lids to avoid warping. Rinse everything first to keep food bits from sticking and causing odors. Oh, and don’t crowd the dishwasher—proper dishwasher placement is key! After a cycle, let those parts air-dry completely, and we’ll keep our blender in great shape for the next smoothie adventure. Cheers to easy cleaning!
Frequently Asked Questions
Can I Use Bleach to Clean My Blender?
We wouldn’t recommend using bleach to clean our blender due to safety concerns. Instead, let’s opt for bleach alternatives like dish soap or baking soda for effective, safer cleaning that keeps our appliances in great shape.
What Should I Do if My Blender Smells Bad?
If our blender smells bad, let’s try some cleaning techniques together. We can mix warm water with vinegar or lemon juice, soak the parts, and guarantee we keep it clean to avoid those funky odors.
How Do I Remove Scratches From the Jar?
We can gently polish away scratches using a baking soda paste or a mild abrasive, but let’s remember to be careful. Regular jar polishing keeps it looking great, allowing us to enjoy our blender even longer.
Can I Clean a Frozen Blender Without Waiting?
Yes, we can clean a frozen blender without waiting! By using some clever cleaning hacks, like soaking and warm soapy water, we can tackle that stubborn frozen smoothie residue effectively and gently.
What Is the Best Way to Store My Blender?
For effective blender storage methods, we recommend using appliance garages, dedicated cases, or cabinets. By following these blender maintenance tips, we make certain our blenders stay accessible, organized, and protected from dust while keeping our kitchens clutter-free.